Easy Blackcurrant Jam Without Pectin: A Small-Batch Recipe
Blackcurrants are generous fruit. Their skins and pips carry plenty of natural pectin, and the juice is sharply acidic, which is exactly what a jam needs to firm up. That means you can make a proper, glossy blackcurrant jam with nothing more exotic than fruit, sugar and a splash of water. This small-batch version makes two or three jars — ideal for a first attempt, a modest hedgerow haul, or a pan you can actually lift.
Pectin is the gelling agent in fruit, and it needs two things to do its job: acid and sugar. Blackcurrants arrive with both built in. The acid comes free in the juice, and the pectin sits mostly in the skins and pips, so there is no need to add a commercial setting agent, lemon juice or apple.
One point worth knowing: ripeness matters. Berries that are fully black but still a little firm hold the most pectin. If you pick late, when the fruit is soft and squashy, the set will be slower and looser. A handful of slightly under-ripe berries in the pan is a genuine help, not a compromise.
This recipe makes roughly 600g of jam — two standard 300ml jars, or three smaller ones. Keep the proportions if you scale up, and remember to keep the batch small: a large pan of jam takes longer to reach setting point, which dulls the flavour.
A jam thermometer takes the guesswork out of it: setting point is roughly 104–105°C. If you would rather trust your eyes and fingers, the saucer test is reliable once you have done it a few times.
Drop a teaspoon of jam onto a cold saucer from the freezer and put it back for a minute. Push the blob with your fingertip. If the surface wrinkles and the jam holds its shape instead of running, it is ready. If it slides about, boil for another two minutes and try again. Take the pan off the heat while you test, so you do not overshoot.
Lift a spoonful and let it cool for a second, then tip it back into the pan. At setting point the jam falls in a thick sheet or flake rather than in thin drips.
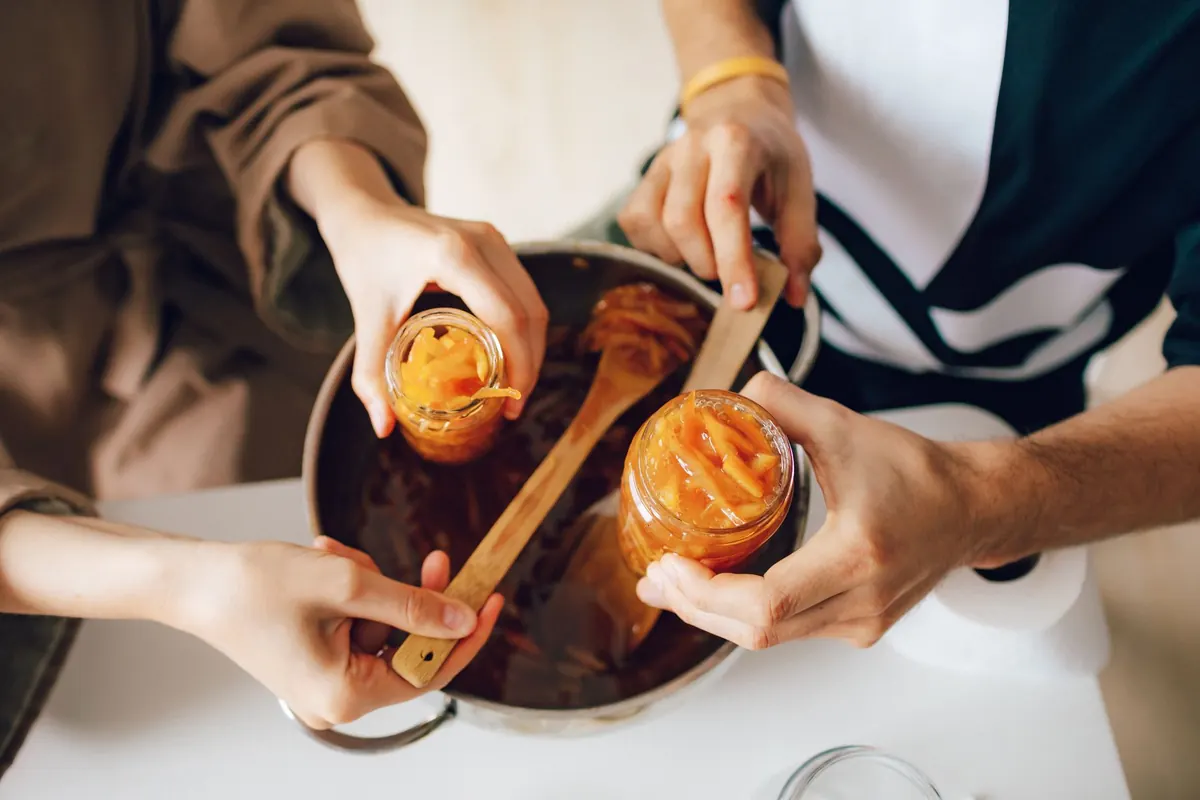
Wash jars in hot soapy water, rinse well and dry them in a low oven at about 140°C for 15 minutes. Lids usually fare better in a bowl of just-boiled water than in the oven, especially if they have a plastic coating inside. Fill the jars while both jam and jars are hot, leaving a centimetre of headroom, and seal straight away.
Once opened, keep the jar in the fridge and use it within a few weeks. Unopened, the jam will keep somewhere cool and dark for up to a year, though the colour fades with time.
Hedgerow blackcurrants are usually ready from mid-July into August. Pick in dry weather, early in the day, and taste as you go: the best jam comes from fruit you would happily eat raw. Surplus berries freeze beautifully on a tray and then into bags, and frozen fruit makes this jam just as well — simply use the smaller amount of water.
One last habit worth adopting: write the date and the fruit on the label, and note how long you boiled the batch. Next summer you will know exactly where to start.
Photo: congerdesign / Pixabay
Previous Post
A UK Fruit Harvest Calendar: What to Pick Each Month
Next Post
Five Unexpected Ways to Use Windfall Apples